
Guide to downloading, installing, and creating an InviBrowser account
Step-by-step guide to downloading InviBrowser, installing it on Windows 10/11, and registering an account from A to Z to quickly start creating and managing
Step-by-step guide to downloading InviBrowser, installing it on Windows 10/11, and registering an account from A to Z to quickly start creating and managing Browser Profiles.
InviBrowser is an anti-detect browser that supports creating and managing multiple Browser Profiles in separate environments. Each profile can be configured with its own fingerprint, proxy, and session data, making it easier to manage multiple accounts on the same device in an organized manner.
If this is your first time using InviBrowser, this article will guide you through the steps from downloading the software → installation → account registration → login → accessing the Profile management area.
Start your free InviBrowser experience and set up your first Browser Profile in just a few steps.
What is InviBrowser?
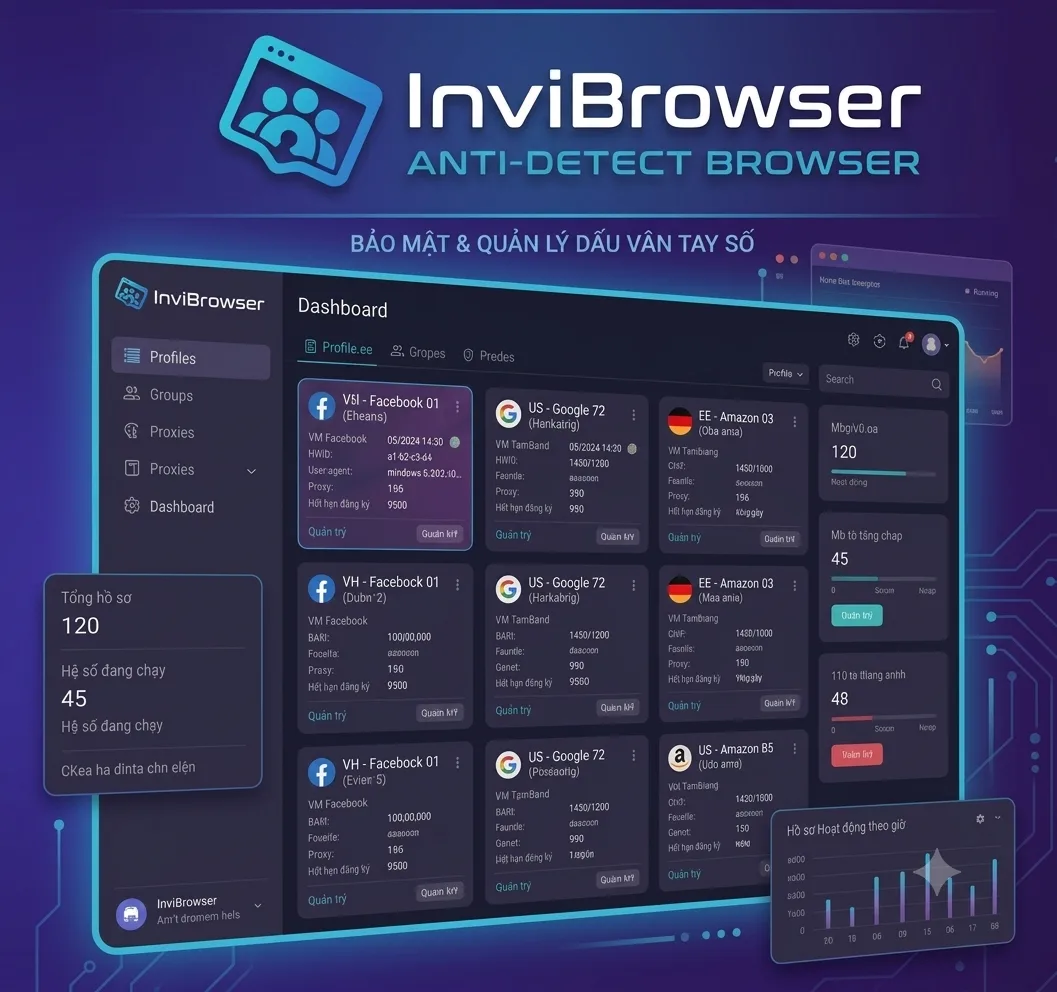
InviBrowser is an anti-detect browser designed to create and manage multiple independent browser environments.
Each Browser Profile can store and manage separate information such as:
-
Cookies and Sessions.
-
Browser Fingerprint.
-
Proxy.
-
Login session data.
-
Profile settings.
In addition to managing Browser Profiles, InviBrowser also provides tools to support proxy management, synchronized operations across multiple profiles, and workflow automation.
Learn more: What is an antidetect browser? A complete A-Z explanation for beginners
Which operating systems are supported by InviBrowser?
Currently, InviBrowser supports:
-
Windows 10.
-
Windows 11.
Before downloading the software, you should check the version of Windows you are using to ensure device compatibility.
InviBrowser Download Guide
First, visit the official website of InviBrowser.
On the homepage, select Download to get the InviBrowser installer for Windows.
Once you select download, the installation file will be saved to your computer. The download time depends on your Internet connection speed.
Note: It is recommended to download InviBrowser directly from its official website to ensure you get the genuine product installer.
Installation Guide for InviBrowser on Windows
After downloading the installation file to your computer, follow these steps:
-
Open the downloaded InviBrowser installation file.
-
If Windows prompts you to grant permission for the app, select Yes to continue.
-
Select the folder where you want to install InviBrowser.
-
Follow the on-screen instructions to proceed.
-
Wait for the installation process to complete.
-
Open InviBrowser to start using it.
If your C drive still has sufficient free space, you can keep the default installation directory as it is.
If you want to save the software to a different drive, you can change the installation path before proceeding.
InviBrowser Account Registration Guide
When you open InviBrowser for the first time, the app will display the login screen.
If you don't have an account yet, select Register.
Then, enter the required information:
-
Email.
-
Account name.
-
Password.
After you submit your information, the system will send an OTP code to the email address you just registered.
Open your email, retrieve the OTP code and enter it back into InviBrowser to complete the verification.
Once authentication is successful, your InviBrowser account is ready to use.
Learn more: Guide to creating and managing Profiles on InviBrowser to start setting up your first Browser Profile after registering an account.
Log in and start using InviBrowser
After creating your account, return to the login screen and enter the information you just registered.
Upon successful login, you will be directed to the main interface of InviBrowser.
The area you will use most often when you first get started is Profile. This is where you manage Browser Profiles dedicated to different accounts or work requirements.
Here, you can:
-
Create a new Profile.
-
Manage multiple profiles.
-
Adjust the configuration for each Profile.
-
Assign a proxy to the profile.
-
Launch each browser environment.
-
Manage the created Profiles.
Watch the detailed tutorial video:https://www.youtube.com/watch?v=ADN7WZP9DWk
Frequently Asked Questions
Is it possible to install InviBrowser on drive D instead of drive C?
Yes. During the installation process, you can change the folder where the software is saved if you do not want to use the default path on drive C.
What should I do if I don't receive the OTP registration code?
First, please check the Spam or Junk folder in your email and make sure the email address you entered is correct. If you still do not receive the code, you can contact the InviBrowser support team.
Is it necessary to use a proxy when creating the first Browser Profile?
It is not mandatory. You can still create and use Browser Profiles first, then add Proxies when your workflow requires a separate network environment for each profile.
Is it possible to create multiple Browser Profiles under one InviBrowser account?
Yes. Managing multiple browser profiles is one of the core features of InviBrowser. Each profile can be configured as an independent browser environment.
Summary
To get started with InviBrowser, you only need to complete three main steps: download the software, install it on Windows, and register an account.
After logging in, you can proceed to create Browser Profiles, configure proxies, and organize each environment by account or project.
Learn more: Guide to creating and managing Profiles on InviBrowser to start setting up your first Browser Profile after registering an account.
You can try InviBrowser for free to install the app and start creating your first Browser Profile.